

Getting Started, Uncategorized
Soft Soldering Bench Setup
Jan
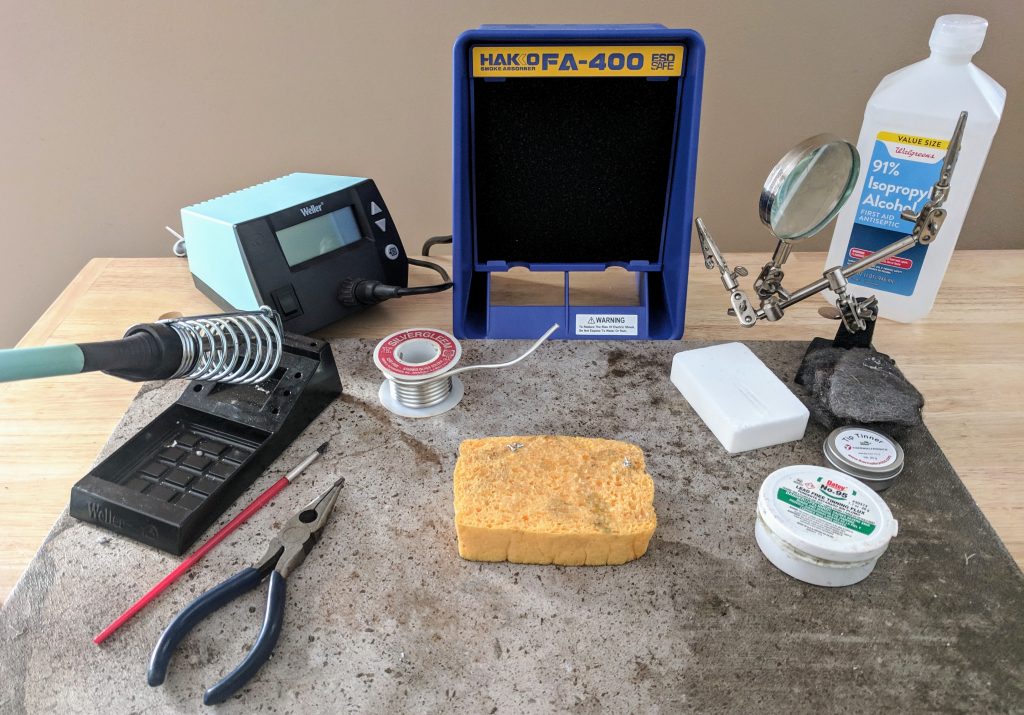
Setting up a workspace for soft soldering doesn’t involve a huge investment like regular metal working. Here’s an advanced list of the things you’ll need if you decide to pursue it as a regular hobby:
Fume extractor:
A fume extractor pulls fumes out of the air near your workspace and filters a lot of the nasties out of the air before releasing that air back into the room. Seriously, you need one of these. It keeps you, your family and your studio space safe.

You can set this little bad boy up right on your work table. It lies flat or stands up to pull the fumes away from your work — the closer, the better. An extractor traps and filters the nasties out before releasing clean air back into the room. If you plan on soldering a lot (like, if you plan to make enough work to sell), get two. Two is better than one. Keep them as close to your work as possible.
Fume extractors don’t just keep fumes out of your lungs–they pull them out of the air, as well, and therefore I’d say they’re the most important safety item you could buy for your soldering set-up.
Your health is important–don’t skimp on this. It’s not just you, either. When you solder indoors, you’re exposing everyone you live with to the fumes, too — so you’d better be mitigating them ASAP.
If you have birds or cats, you shouldn’t have them anywhere near your soldering setup, as they’re prone to respiratory issues (also cats love to jump right into the middle of whatever you’re doing–no bueno at the soldering station!).
*If you’d like to know more about soldering fumes and how to mitigate them, check out this PDF by Cooper Tools.
Safety Glasses:
Sometimes molten metal gets flung in the darnedest places. These things are like two bucks — get a pair.
A large ceramic tile to work on:
The larger, the better–just so you have a nice heat-proof base to do your work. They clean up easily too. I just grabbed the largest I could find at Menard’s. It cost me less than $3!
A Third Hand (or two):
Third hands are awesome for holding tiny hot things in place. Hence, they’re perfect for soldering jump rings and other bits onto larger pieces for jewelry.
Third Hands (I like at least two):
I picked mine up at Harbor Freight but you can find them on Amazon too:
A soldering iron:
To be fair, I started soldering jewelry with a cheap $4 model I got from Menard’s, and it worked BEAUTIFULLY for months and months. Eventually it burned out and I’ve never been that lucky with the cheap ones again.
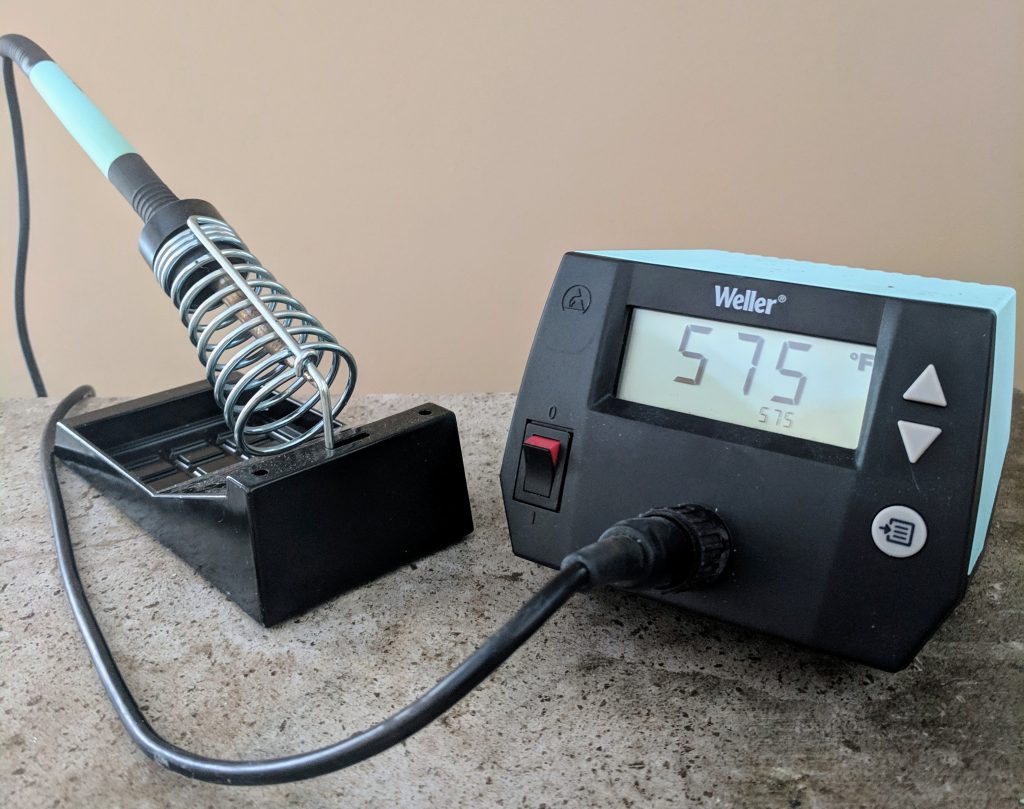
Go for a 70- to 100-watt model if you can afford it — adjustable temp is ideal. Look for a model with a rheostat. I already had a 100-watt Weller that my Dad had given me for stained glass work, but I found it way too large and clunky for fine jewelry work.
After a few trials, my boyfriend got me the 70-watt Weller pencil-tip with built-in rheostat and that thing flows like butta. BUTTA, I tell you. This iron is especially nice since we moved into our house–the newer wiring is counterintuitively suckier than our good ol’ 60’s-era apartment electrical.
I hook it up to a power conditioner to maximize our current’s consistency, and I can watch the temp from the corner of my eye. If it fluctuates too much in any direction, I simply wait a few seconds before I get back to work (this works out because you want to let your pieces rest quite a bit so they don’t overheat).
Want to know about my other favorite options? I’ve owned quite a few soldering irons, but would only recommend a few for the Tiffany technique. Read more on the best soldering irons for jewelry-making here.
Iron stand:
If your iron doesn’t come with its own stand, be sure to buy one. Don’t EVER set the iron down on your work surface — it can roll and it’s very dangerous if you absentmindedly reach for a runaway iron.
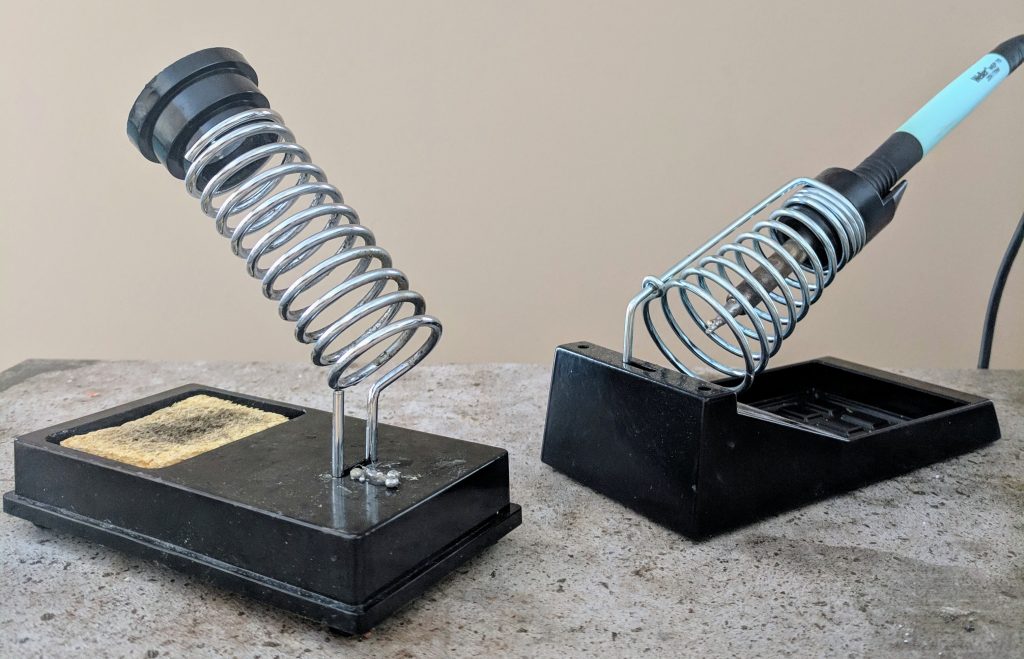
Make sure your stand is stable. The little bendy metal stand that comes with a lot of irons simply isn’t enough–one little bump of your elbow against the cord and you’ve got yourself a runaway iron. Absent-minded reaching for said runaway iron can hurt. Spend an extra few bucks, get the coiled stand and spare yourself the angst of second-degree burns.
Rheostat (optional):
If you don’t have an adjustable iron (see image below), you may want to get a rheostat to control the temperature. They are pretty affordable, and it’s nice to only have to replace a rheostat OR an iron, instead of an entire unit when it eventually wears out.
Just a note: none of my good ones have run out yet, but everything has a lifespan – buy quality to avoid a lot of tool turnover.
Flux (this is personal preference–choose from gel, liquid or paste):
In the beginning, you’ll need to try each out to see you you like it. My least favorite flux is the liquid (which stinks because the least scary “safety flux” is liquid). When you’re using flux, you want it to stay on awhile and not burn off right away. Liquid has the shortest working time–try the gel or classic paste. And use it liberally. When in doubt, add more.
The video below is intended for people who solder electronics, but the basic principles are similar if not the same, and it’s good to know how flux works.
Cheap paintbrush:
I like a good stuff brush that’s not too big. Also, many people use the cheapo plastic fiber brushes (like kids brands). I prefer stiff, natural bristle brushes with wood handles because soldering is hot work, and plastic bristles can leave tiny bits of debris on your work if they get too hot.
Plus, the wood handles from the natural fiber brushes make excellent burnishers when you apply copper tape!
High Quality, Jewelry-Grade Solder
The solder you use for jewelry-making must be lead-free. To practice, you can start with a lead-free plumber’s solder from the hardware store. Once you get the hang of soft soldering, buy a nicer jewelry-grade solder. I prefer Silvergleem because it only contains tin and silver. It has a slightly higher melting point than other lead-free solders, but the end result is beautiful.
Lead-free solder like Silvergleem:
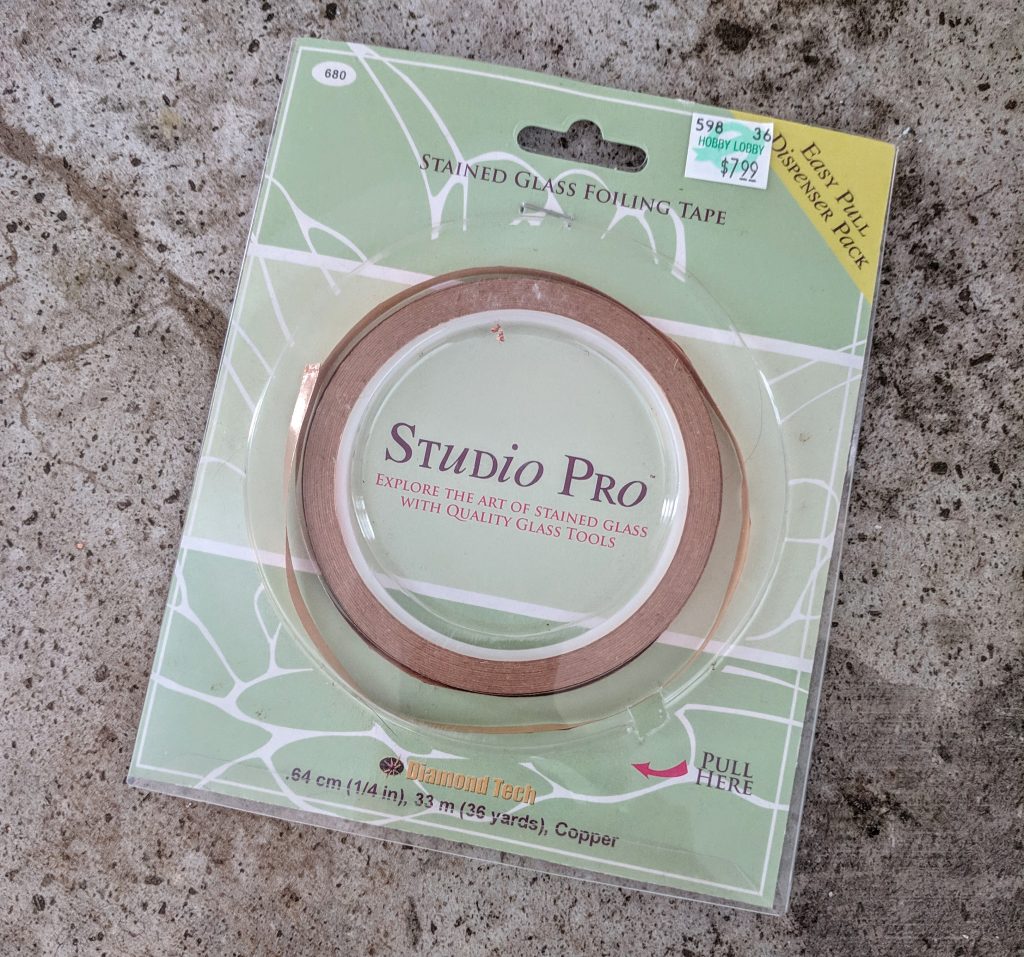
Copper tape:
Copper tape makes the base for your solder, and solder won’t flow over the surface of your stones without it. It’s generally sold as a stained glass supply or for refining sound quality on electric guitars. As long as it’s copper and has adhesive on one side, it should work just fine.
Pro tip: ALWAYS store your copper tape in seal-able plastic bags or Tupperware-like storage containers. The less air it’s exposed to the better — this prevents oxidation (which impedes adhesion when you’re soldering!).
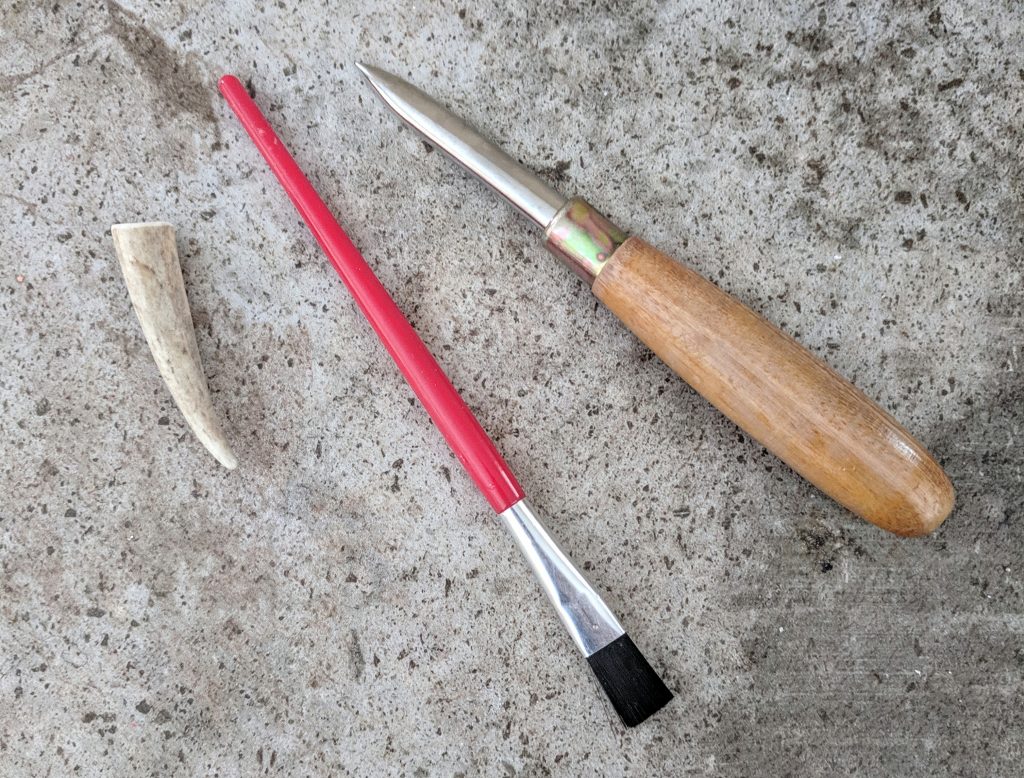
Burnishing tool:
Copper tape needs to be as flush to your piece as possible, so it must be burnished after you apply it to your stone. You can buy a bone burnishing tool, but these are hard to find, and an unfinished wood paintbrush handle works just as well or better.
I use a jeweler’s burnishing tool (commonly used in bezel settings) or an antler tip. Antler is bone and makes for a very smooth burnishing tool.
*NOTE: Plastic paintbrush handles often have seam lines that will tear your copper tape as you burnish. Sometimes I use them, but I don’t recommend them.
Extra soldering tips:
No matter how well you maintain them, tips burn out. Hopefully, you’ll get good at keeping them clean and well-tinned, so changing them out will not happen very often. Good tips can cost anywhere between $3-$10, depending on shape and iron. Treat them well and they’ll do the same for you!
Tip Tinner:
Whenever you’re starting out with a brand-new tip, you’ll want to tin it properly to keep it from oxidizing and burning out too quickly. Think of Tip Tinner as a blend of sal ammoniac and powdered solder–you can rub and rotate the tip firmly in the pad of tinner to condition and recondition your tips as you work.
Learn more about tinning HERE.
Sal ammoniac block:
Speaking of treating your tips well, it’s tough to maintain a clean tip without a sal ammoniac block. Keep one close and use it often as you work. When you notice your tips aren’t picking up solder readily, it’s time to clean them (do it while the iron is hot!).
Scrub the soldering tip against the sal ammoniac block like you’re scrubbing the floor. You want to keep a lot of pressure on it–you’re cleaning the oxidation and you want it all gone.
Wipe any oxidation away with a damp veggie-based sponge, re-tin your tip and get back to work!
Sponge:
While we’re on the subject of sponges, synthetic sponges are terrible–don’t bother. Grab a pack of vegetable-based sponges instead. They don’t melt or leave debris on hot soldering tips, and they last longer, too.
Damp sponges are also wonderful for holding your work–situate your piece between two of them for a secure grip that’ll keep it in place until you’re ready to rotate sides.
This set of 12 is my absolute FAVORITE. They’re from Trader Joe’s, but if you don’t have a store nearby, they’re here on Amazon too!
Bleach wipes/ammonia wipes:
Many people use bleach wipes for removing excess flux from finished pieces. Make your own reusable wipes with some scraps of cotton flannel and a 1:2 mix of bleach and distilled water (that’s one part bleach, two parts water).
Keep them in a well-sealed container and just squeeze them out before you use them–they should be well dampened, but not dripping when you clean your pieces.
Baking soda/water:
Flux is acidic, so when you’re done with a piece (or batch of pieces), you need to neutralize them. A bath of baking soda and water does a great job. 3 tablespoons per 2 cups of warm water–dump your pieces in, swish ‘em around and scrub with an old toothbrush dedicated to the job.
Neutralizing your pieces also keeps any leftover acid from slowly eating away at your gemstones, as some are more susceptible to acid than others.
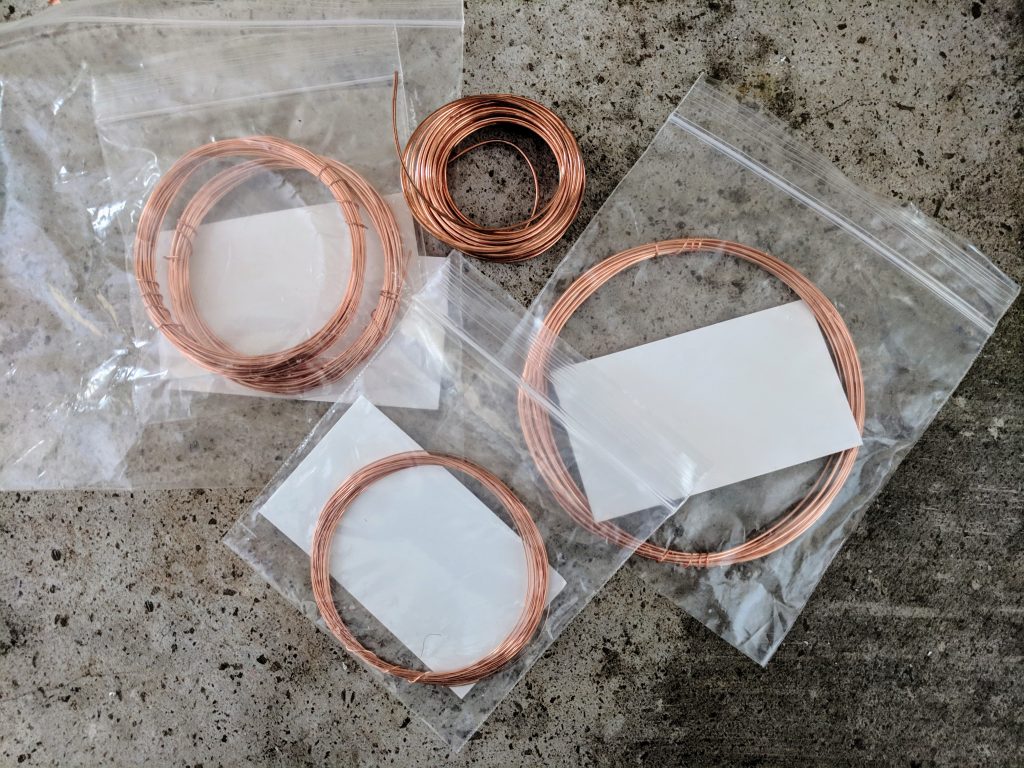
Copper wire:
Various gauges of copper wire (be careful to buy real copper–not copper-colored–wire). You can also use silver-coated copper, sometimes called “German wire,” etc.
Jump links:
Just the plain jump links you can find at in the jewelry supply section of your local craft store. Stay away from aluminum though.
Once you’ve accumulated all your supplies, set your desk up like this:

- Ceramic tile surface to work on
- Soldering iron stand on the side of your dominant hand, with cord situated so that you won’t knock it as you work
- Fume extractor as close to your work area as possible
- Copper tape, copper wire, flux and wood-handled flux brush within easy reach
- A third hand (or two!) on your work surface
- Damp vegetable sponge and/or steel wool or brass wire cleaning pad, Tip Tinner and sal ammoniac block
*Welcome! This is a reader-supported blog. These posts may contain affiliate links to products that I like and that can make your soft soldering journey easier. If you purchase through my links, I may receive a small commission, so thank you very, very much if you do! 🙂
I am putting my kit together at the moment and your website is the most helpful I could find – thanks so much!!
Thank you for letting me know! I’m hoping to build it out a lot more soon! 🙂